I believe you're not lucky enough--like the majority of us🤫--to start a project from scratch. A situation where you might have the chance to look up the best practices regarding Database migrations, schemas versioning, etc. Or, if you use Hibernate, you've been fooled by its ability to detect changes that happened on the schema and apply the necessary updates to the Database.
I'm sorry to tell you that the Hibernate team doesn't recommend using auto DDL in production😳.
We’ve seen Hibernate users trying to use SchemaUpdate to update the schema of a production database automatically. This can quickly end in disaster and won’t be allowed by your DBA.
Simply put, Hibernate--as with many diff-based Database tools--is not capable of detecting semantic changes like renaming an entity from X to Y, but rather it'll be considered as 2 separated operations: Drop entity X and Create a new entity Y; Therefore, such change combined with auto DDL being activated 😌 just get ready for a trial by combat.
In this tutorial, we will see how we can make use of a database migrations management tool in an in-production App. Furthermore, by the end of this article, you'll be able to speak about something called Database migrations versioning hence, use your favorite spell git blame (use it well 👀).
"That seems interesting, but why Liquibase?"
Liquibase is the most popular Java library for version-based database migration that not only makes your job a lot easier but also:
- Supports a variety of relational database (MySQL, MariaDB, PostgreSQL, Oracle and many more)
- Sequential execution of all required updates to get to the most recent database version
- Deploy database and application changes together so they always stay in sync.
- Automatic creation and execution of rollback operations for failed updates
- Database-independent definition of the update operations
- Changes are described using SQL, XML, YAML, or JSON.
- Support of extensions that extend Liquibase database support and capabilities
- Liquibase uses a distributed locking system to only allow one process to update the database at a time.
"I'm just learning new stuff, how can I apply?"
This section explains how to set up a small App locally that I'm going to use as my in-production App. Feel free to skip over it.
Do not worry Einstein 🤓 I got your back. All you have to do is clone this repository. Then, work your way either
With dockerized version...
If you're one of the cool kidz using Docker, just grab your wand and repeat after me. docker-compose up --build
In short, by running this command you'll pull MariaDB and OpenJDK images, build our app image based on the OpenJDK one, create 2 containers named liquibasemigration and database, and then starts both the containers.
Now that we have 2 services up and running, it's worth mentioning that we'll have a database named todosdb created automatically for us. You can change that by going to docker-compose.yml
...
services:
	...
	db:
		image: mariadb
		container_name: database
        environment:
	        MYSQL_ROOT_PASSWORD: root
			# Will create a database named todosdb
            MYSQL_DATABASE: todosdb
	...
...or without docker
Easy just go and get yourself a docker 😊 . Not convinced? 😞 All you need is a MariaDB database, update the application.properties to use your DB credentials, and hit run.
Then once the App is started, it will automatically seed our database with 3 todos. You can always customize the content by going to this file.
...
public class LiquibaseMigrationsApplication implements CommandLineRunner {
	private final TodoRepository todoRepository;

	...
	@Override
	public void run(String... args) throws Exception { // This code is responsible for seeding the database with 3 entries only if there is no todos
		log.info("Seeding the Database");
		if (todoRepository.count() == 0) {
			List<Todo> todos = Arrays.asList("Make Nimbleways great again", "PS5 gameplay, it's happening soon right Abbes?", "Have breakfast ofc :p")
				.stream()
				.map(content -> {
					Todo todo = new Todo();
					todo.setContent(content);
					return todo;
				})
				.collect(Collectors.toList());
			todoRepository.saveAll(todos);
			log.info("Seed the DB with {} todos", todos.size());
		}
	}
}
"Where should I start?"
To get started we first need to download Liquibase. Liquibase provides many options when it comes to installation such as Liquibase CLI, Docker Image, Or even manually if you prefer to. However, in a Spring Boot application, you're probably using a build automation tool like Maven. You guessed it, we're going to use the Liquibase Maven plugin.
Head off to your pom.xml file to add Liquibase core dependency and Liquibase Maven plugin. Do not forget the properties
<?xml version="1.0" encoding="UTF-8"?>
<project xmlns="http://maven.apache.org/POM/4.0.0" xmlns:xsi="http://www.w3.org/2001/XMLSchema-instance"
xsi:schemaLocation="http://maven.apache.org/POM/4.0.0 https://maven.apache.org/xsd/maven-4.0.0.xsd">
...
<properties>
<java.version>1.8</java.version>
<!-- We'll create and use this file to specify our liquibase properties -->
<liquibase.propertyFile>src/main/resources/liquibase/liquibase.properties</liquibase.propertyFile>
<!-- Liquibase core and liquibase maven plugin version -->
<liquibase.version>4.2.2</liquibase.version>
</properties>
<dependencies>
...
<!-- Liquibase core dependency, consider always using the latest since it fixes several bugs encountered in the previous ones -->
<dependency>
<groupId>org.liquibase</groupId>
<artifactId>liquibase-core</artifactId>
<version>${liquibase.version}</version>
</dependency>
</dependencies>
<build>
<plugins>
...
<!-- Liquibase Maven plugin -->
<plugin>
<groupId>org.liquibase</groupId>
<artifactId>liquibase-maven-plugin</artifactId>
<version>${liquibase.version}</version>
<configuration>
<!-- Use the liquibase.properties file as the main source of configuration -->
<propertyFileWillOverride>true</propertyFileWillOverride>
<propertyFile>${liquibase.propertyFile}</propertyFile>
</configuration>
<dependencies>
<!-- This ensures the required dependencies are available to the plugin in the classpath -->
<dependency>
<groupId>org.springframework.boot</groupId>
<artifactId>spring-boot-starter-data-jpa</artifactId>
<version>${project.parent.version}</version>
</dependency>
<dependency>
<groupId>org.springframework.boot</groupId>
<artifactId>spring-boot-starter-web</artifactId>
<version>${project.parent.version}</version>
</dependency>
</dependencies>
</plugin>
</plugins>
</build>
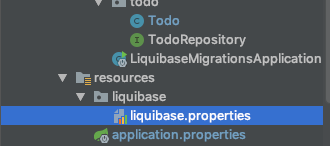
</project>Then we should create the liquibase.properties file inside src/main/resources/liquibase. Of course, you need to create the folder first.
The file must contain:
# This gives you the possibility to use a testing DB before applying on your prod DB
url: jdbc:mariadb://localhost:13306/todosdb
username: root
password: root
driver: org.mariadb.jdbc.Driver
# This will be our main entry for all the DB migrations
changeLogFile: src/main/resources/liquibase/db.changelog-master.xml
# We'll find out the utility of this property later on
outputChangeLogFile: src/main/resources/liquibase/db.changelog-generated.xml
# Optional
verbose: true
That's it, Liquibase is now ready to be used. Yet, before digging in we shall start by defining some of Liquibase's grammar.
Liquibase key terms
- Changelog: a text-based file that stores the DB changes that have been applied or need to be applied.
- Changeset: it's the smallest unit that represents a change—uniquely identified by an id and an author—from creating a table, updating it, adding a column or removing it, etc.
- DATABASECHANGELOG: this is a database table created by Liquibase and used to synchronize the changesets that have been applied so that we don't execute the same changeset more than once.
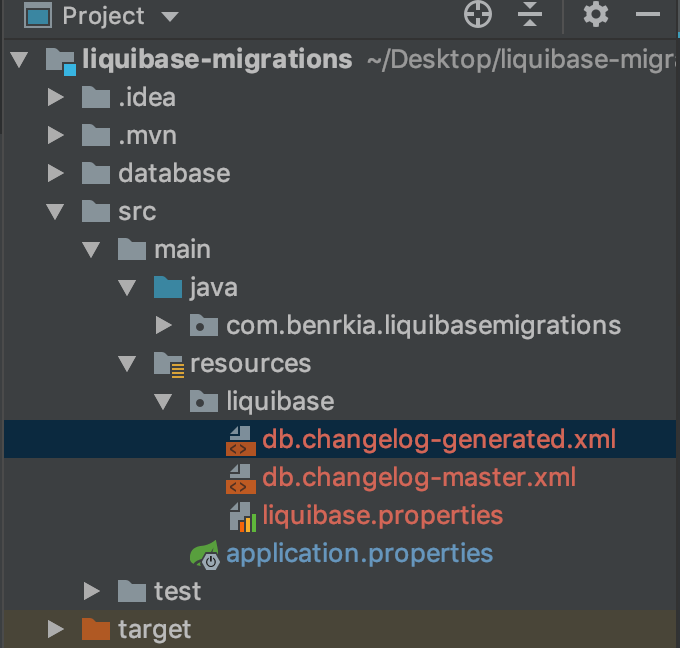
Back to our project. Our goal is to integrate Liquibase into an existing project, this means we already have a DB. The first thing to do is try to create a changelog based on our existing DB as if it was originally created by Liquibase thus, the utility of outputChangeLogFile property.
To do so, we simply need to ensure that our DB is running and then execute mvn liquibase:generateChangeLog
Once finished, we'll have our outputChangeLogFile created with the following content
<?xml version="1.1" encoding="UTF-8" standalone="no"?>
<databaseChangeLog xmlns="http://www.liquibase.org/xml/ns/dbchangelog" xmlns:ext="http://www.liquibase.org/xml/ns/dbchangelog-ext" xmlns:pro="http://www.liquibase.org/xml/ns/pro" xmlns:xsi="http://www.w3.org/2001/XMLSchema-instance" xsi:schemaLocation="http://www.liquibase.org/xml/ns/dbchangelog-ext http://www.liquibase.org/xml/ns/dbchangelog/dbchangelog-ext.xsd http://www.liquibase.org/xml/ns/pro http://www.liquibase.org/xml/ns/pro/liquibase-pro-4.1.xsd http://www.liquibase.org/xml/ns/dbchangelog http://www.liquibase.org/xml/ns/dbchangelog/dbchangelog-4.1.xsd">

    <!-- This pair must always be unique. But this time it's generated for us -->
    <changeSet author="mac (generated)" id="1607904245529-1">
        <createTable tableName="todo"> <!-- Our todo table -->
			<!-- And then a description of all our table columns -->
            <column autoIncrement="true" name="id" type="BIGINT">
                <constraints nullable="false" primaryKey="true"/>
            </column>
            <column name="completed" type="BIT">
                <constraints nullable="false"/>
            </column>
            <column name="content" type="VARCHAR(255)"/>
            <column defaultValueComputed="NULL" name="created_at" type="datetime"/>
            <column defaultValueComputed="NULL" name="updated_at" type="datetime"/>
        </createTable>
    </changeSet>
</databaseChangeLog>
Depending on the size of your database you might end up with so many changesets. Evidently, the first thing to do is to verify that all changesets match with your DB schema (pay good attention to default values). Everything is okay? Cool, let's move to the next part.
Synchronize the generated changeLog
Once you confirmed that all the changesets are correct and relevant, or probably fixed some issues. You are ready to synchronize your changelog with the DB. This means Liquibase will create a table in your DB, named DATABASECHANGELOG, and fill it with a bunch of data indicating that all the changesets are already executed.
Create a new file db.changelog-master.xml under the Liquibase folder. Feel free to name the files however you want but do not forget to update liquibase.properties accordingly. Yet, I'm using some conventional naming over here which I consider as a best practice.
The db.changelog-master.xml file will be the entry point for all the other changelogs. Unsurprisingly, it will only contain a set of include statements that points to other changelogs.
<?xml version="1.1" encoding="UTF-8" standalone="no"?>
<databaseChangeLog
xmlns="http://www.liquibase.org/xml/ns/dbchangelog"
xmlns:ext="http://www.liquibase.org/xml/ns/dbchangelog-ext"
xmlns:pro="http://www.liquibase.org/xml/ns/pro"
xmlns:xsi="http://www.w3.org/2001/XMLSchema-instance"
xsi:schemaLocation="
http://www.liquibase.org/xml/ns/dbchangelog-ext
http://www.liquibase.org/xml/ns/dbchangelog/dbchangelog-ext.xsd
http://www.liquibase.org/xml/ns/pro http://www.liquibase.org/xml/ns/pro/liquibase-pro-4.1.xsd
http://www.liquibase.org/xml/ns/dbchangelog
http://www.liquibase.org/xml/ns/dbchangelog/dbchangelog-4.1.xsd">
<!-- Since we have one change log, it'll be included here -->
<include file="db.changelog-0.0.1-SNAPSHOT.xml" relativeToChangelogFile="true" />
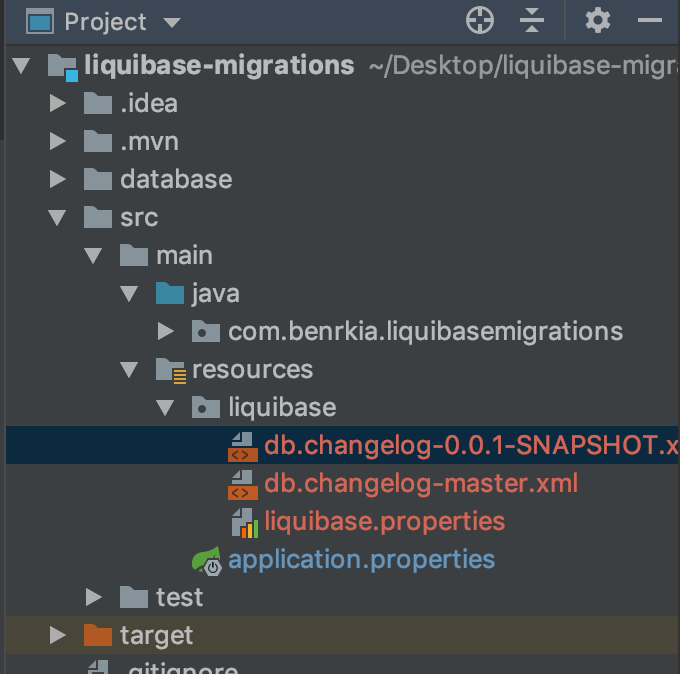
</databaseChangeLog>Following this pattern, we'll end up with a single master changelog that references other changelogs. Each non-master changelog will contain all the DB changes up to that specific release. Therefore, we will limit the number of changelogs to the number of releases + 1 and rely on the VCS to handle versioning.
Now, let's rename the generated changelog file to db.changelog-<CURRENT_RELEASE>.xml. In my case, this will be db.changelog-0.0.1-SNAPSHOT.xml.
Then execute the command mvn liquibase:changelogSync. Now, if you check your DB you will notice 2 new tables are created DATABASECHANGELOG and DATABASECHANGELOGLOCK.
"That's it? Now I can run my App safely?"
Well yes, but actually no. We need to do one more thing before running the App. Well, not one but two. In your src\main\resources\application.properties file:
- Change Hibernate auto-dll to validate instead of update.
- Disable Liquibase at startup
spring.jpa.hibernate.ddl-auto=validate
spring.liquibase.enabled=false
When Spring Boot finds Liquibase in the classpath, it automatically runs the update goal at startup, which might cause changes that can't be rolled back.
The proper way is to always check the SQL that will be executed by Liquibase using the command mvn liquibase:updateSQL. Only then you can apply the update using mvn liquibase:update.
Valar Morghulis, 👋